I recently published a package with two components I wrote for vaadin 24, namely a paypal integration for donations and payments. Searching for the right plattform for announcements and sales I have chosen patreon since I already run a campagne there and it contains all options I needed.
To push the visibility, I am writing a short article here. Hope it helps somewhere!
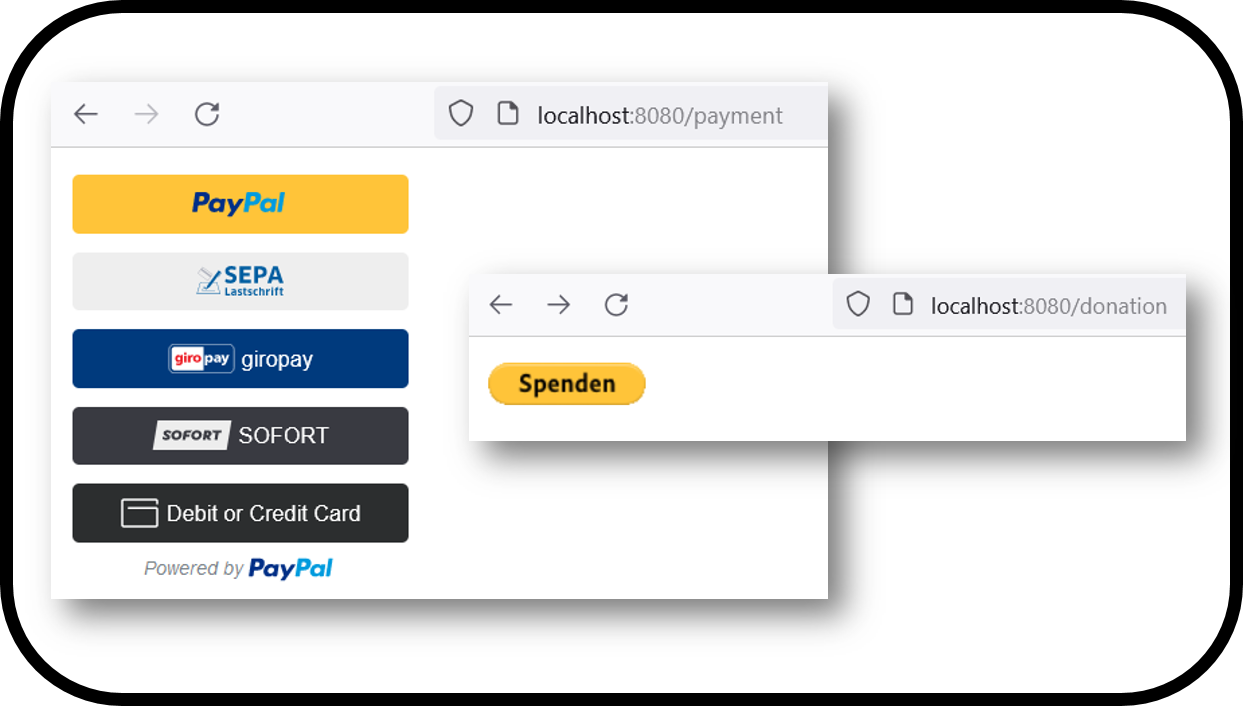
https://www.patreon.com/padmalcom/shop/vaadin-24-paypal-components-donations-149436